This post contains affiliate links. If you use these links to buy something we may earn a commission.
If you read our article “Kids Cost How Much!?! – Monthly Cost for a New Child” you may have caught that your new baby will go through 3,000 diapers a year (8-10 per day). So, there is no better time than now to get some tips on how to make diaper changing a success.
First you need to ensure you have the right tools to prepare for the unexpected. The great Benjamin Franklin said “By failing to prepare, your are preparing to fail”. Failure will certainly be the case at some point if you don’t have your necessary gear and a diaper change is needed. Learn from my mistakes, when I encourage you to never leave the home thinking a diaper change will not be needed while you are out. Like a great military leader, your child will sense your lack of preparation and their bowels will attack!
Most parents have a designated changing area in the home and a diaper bag packed with these tools to take on the road to prepare for a diaper changes of any kind. To start let’s look at the gear you will need to help with diaper changing:
Diaper Changing Gear
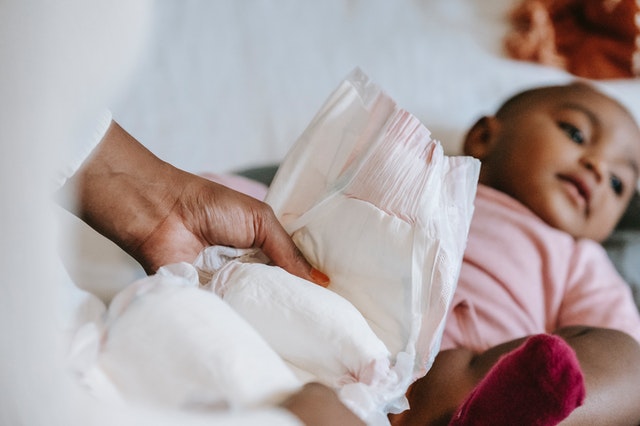
Diapers – Disposable or Cloth and make sure they are the right size for your baby. Make sure you have enough diapers, as you do not want to be caught empty handed.
Baby Wipes – If your baby is a newborn (under 2 months) or sensitive to baby wipes, it is recommended to use warm water and a washcloth or cotton balls in lieu of baby wipes. For older kids (3 months) and as recommended by a doctor, keep wipes on hand as they will be necessary for clean-up.
Diaper Cream or Ointment – Diaper rash cream or ointment as recommended by your doctor.
Changing Table or Changing Pad – Make sure this area is clean and if raised off the ground, ensure it is stable and comes with a safety strap for the child. Never leave your child unattended on a raised changing station.
Change of Clothes – This will come in handy if the diaper is a blowout or you experience leakage.
Diaper Disposal Bag or Diaper Genie – Somewhere to put the dirty diaper and wipes to minimize its smell.
Dry Cloths / Burb Cloths – Can be handy if you encounter a mid-change spit up or potty.
Distraction Toy – As your baby gets older, they will be more prone to move around during a change and a familiar toy they can hold can serve as a good distraction to keep them still (make sure this toy avoids the contaminated area during the change).
Hand Sanitizer – First step in changing your baby will be to ensure you have clean hands so hand sanitizer can be useful especially if the change is happening while out and about.
Diaper Changing Steps
The following steps are for changing a disposable diaper, but the steps for cloth diapers are very similar.
- Clean Hands / Clean Surface – Clean your hands and ensure your baby changing surface is clean and free of any unnecessary items.
- Set your Baby On their Back
- Prepare the new Diaper – Get your new diaper open and ready so that it can be moved under your baby once the contaminated diaper is removed and baby clean.
- Unfasten the Contaminated Diaper
- Clean the Baby – You will need to remove the diaper prior to completing your clean up. You may start with the diaper remaining under the baby if poop is present and you want to remove the poop onto the contaminated diaper. When cleaning a baby girl, clean from front to back to keep from causing an infection.
- Set Aside Contaminated Items – Place diaper and any used wipes out of the reach of the baby.
- Place a Clean Diaper under Your Baby – Diapers usually have a Front and Back marker on them to help in identification. The Back should be the part under your baby’s bottom and the tabs (disposable diaper) should be on each side of the baby’s bottom.
- Apply Ointments – Apply the ointments or creams as advised by your doctor.
- Close the Diaper – Pull the front of the diaper over the baby’s belly and pull the tabs snug to fasten. Do not pull too tight as it may cause a rash. Do not close too loosely where the diaper could fall off or result in leakage. Also note that if your doctor has recommended, you may need to fold the diaper down to avoid irritation of the umbilical area or any rash that your child may have developed. Consult with your doctor as some new born diapers are designed to avoid disruption to the umbilical area.
- Dispose of the Used Diaper and Cleaning Materials
- Clean Hands – Clean you and your baby’s hands to avoid contamination.
- Clean Changing Surface – Once you have removed your baby and they are in a secure position away from the changing area, clean the changing surface to prepare it for the next use.
Pampers has a step-by-step guide along with a helpful video to show this in action. This may seem like a daunting process, but after practice this will become second nature. Make sure to plan, as having all your tools within your arms reach will be key to handling anything your baby can throw (or spray) at you!